First Steps in Zoner Studio / Fast and Easy Editing
Fast and Easy Editing
Editing your photos has never been easier. In Zoner Studio, you can batch edit, use AI-powered tools, or perfect every detail.

Video Tutorials
Enhance your photos in just a few clicks. Discover what AI and Zoner Studio can do. Use picture-perfect presets or HDR editing. Watch the video tutorials and dive right in!

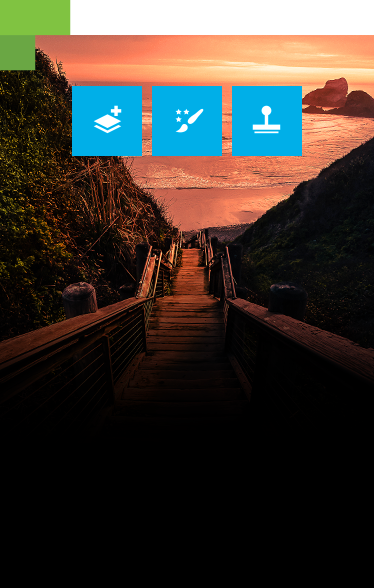
ENHANCE your photos LOCALLY with AI Masks
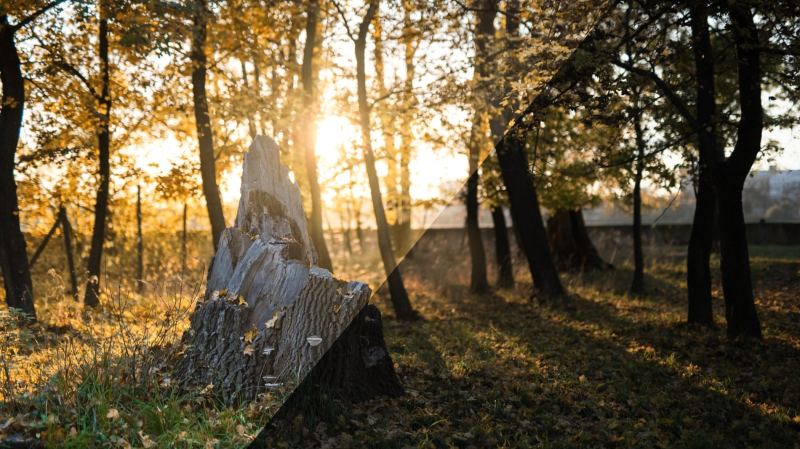
PRESETS: from DOWNLOAD to IMPORT and EXPORT

How to BATCH EDIT photos in Zoner Studio

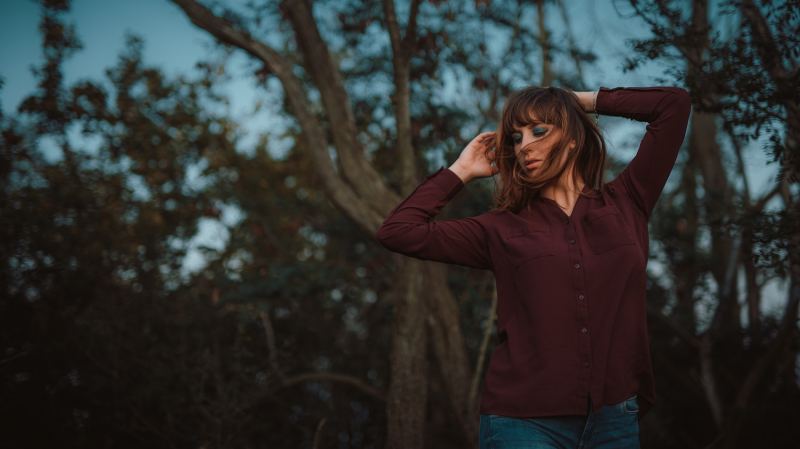
Working with HDR in Zoner Studio
Step-by-Step Articles
Say goodbye to dull pictures. Turn them into stunning masterpieces with Zoner Studio in just a few clicks. Learn how quick and easy it can be at learn.zoner.com.
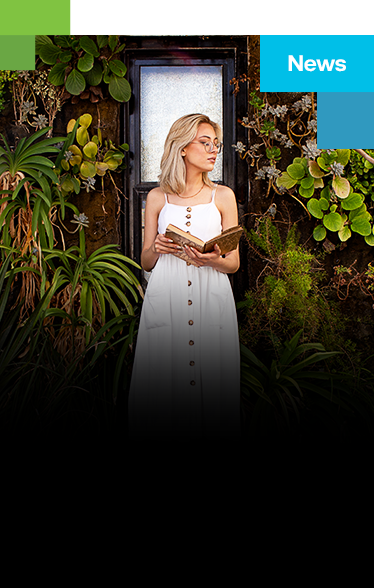
How Do You Edit RAW? Actually, It’s Easy
6 most common photography problems and how to resolve them
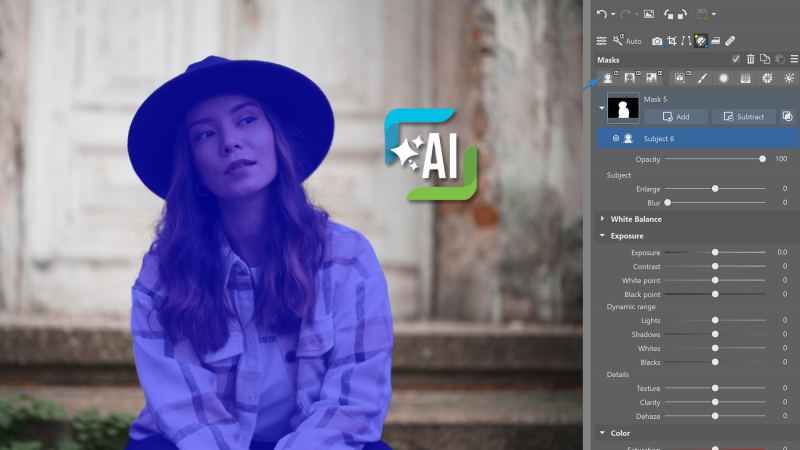
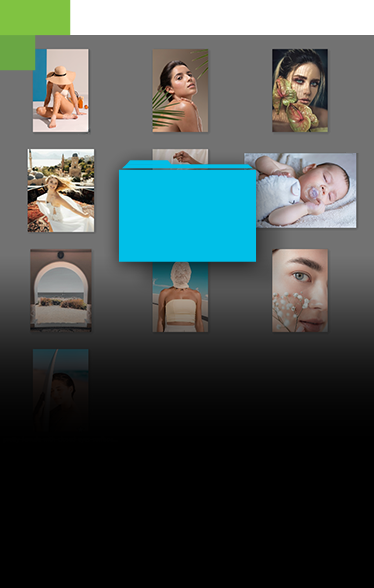
AI Masks in Zoner Studio: Faster, More Precise Local Photo Editing
6 great ways to deal with dark photos
Discover More Features
With Zoner Studio, you can do everything you need with your photos. Conveniently organize, batch edit, color balance, and even advanced retouching. How’s it done?
Updates in Zoner Studio
Learn what new tools and features have been added to Zoner Studio. Find them all in one easy-to-find location.
Convenient photo organization
From now on, your photos will always be in order. Zoner Studio sorts them by location, uses AI to help you pick the best shots, and much more.
Creative Edits with Layers
Add text to your image, retouch skin or hair, and tackle complex adjustments with Zoner Studio.

Photo products and printing
Design photo books, calendars, and gifts right in Zoner Studio. We handle printing and delivery.